6/13/2012

Rubbed Chopped Pork with Beerbecue Sauce

"Good barbecue comes from experience, and experience, well, that comes from poor barbecue."
– Cousin Woodman (http://noexcusesbbq.com/bbq-quotes)

I love a good barbecue: chicken, pork, sometimes beef.  I have never tried making my own recipe for rub or sauce, but I had to today.  My phone was too small to read, and I didn't have all the ingredients; my computers would not load the page so I could print.  Thus, I have come up with my own rub by smelling the herbs and spices I have and then combining them into *hopefully* a decent rub.  I wanted a beer based barbecue sauce, so I looked up a "beerbecue" sauce recipe, but again, I didn't have all the ingredients.  So, I modified it.  The original can be found HERE.  I can say that it smells divine (even my 4 year old wanted to know what smelled so good!), but I haven't tried it yet. 

*Now that it is 11:15pm, and we ate supper 4 hours ago, I have tried it.  It tastes even better than it smells!

Rubbed Chopped Pork

1/4 cup brown sugar, packed
1/4 cup table salt
1/8 cup black pepper
1/8 cup paprika
1/2 Tb cumin
1/2 tsp garlic powder
1/2 tsp ground mustard
1/2 tsp ground ginger
1/2 tsp ground sage (this is easy to overdo, so watch it!)
1 Tb Spanish thyme
1/4 cup light honey

6 lb Boston Butt pork roast (I used 2-3 lb cuts with only a small bone, boneless is better!)


1. Mix all the dry ingredients together.  Add the honey, and stir.  Do not freak out when this is not a "sauce" consistency.  It is more like peanut butter cookie dough in texture.


2. Put your pork in a 9x13 or larger baking dish (I used the Pampered Chef Rectangle Baker #1338).  Put 1/4 of the rub on each cut of meat, and spread it out with your fingers.  This will not be easy, but stick with it, and spread it out as evenly as you can.  Flip the meat over and repeat.


3. Preheat the oven to 400 degrees F.  Roast the meat uncovered for 30 minutes.  Flip it over carefully, cover loosely with foil, and return it to the oven at 325 degrees F until a meat thermometer registers at least 145 degrees F in the thickest part of the meat.  I let mine go to 150 degrees F, but the government has changed the minimum cooking temps for food safety, and you can see those HERE.  It used to be 165 degrees F for pork, and my digital thermometer still has that as a default, so I used the medium rare beef setting and then double checked it with an old school pocket thermometer.

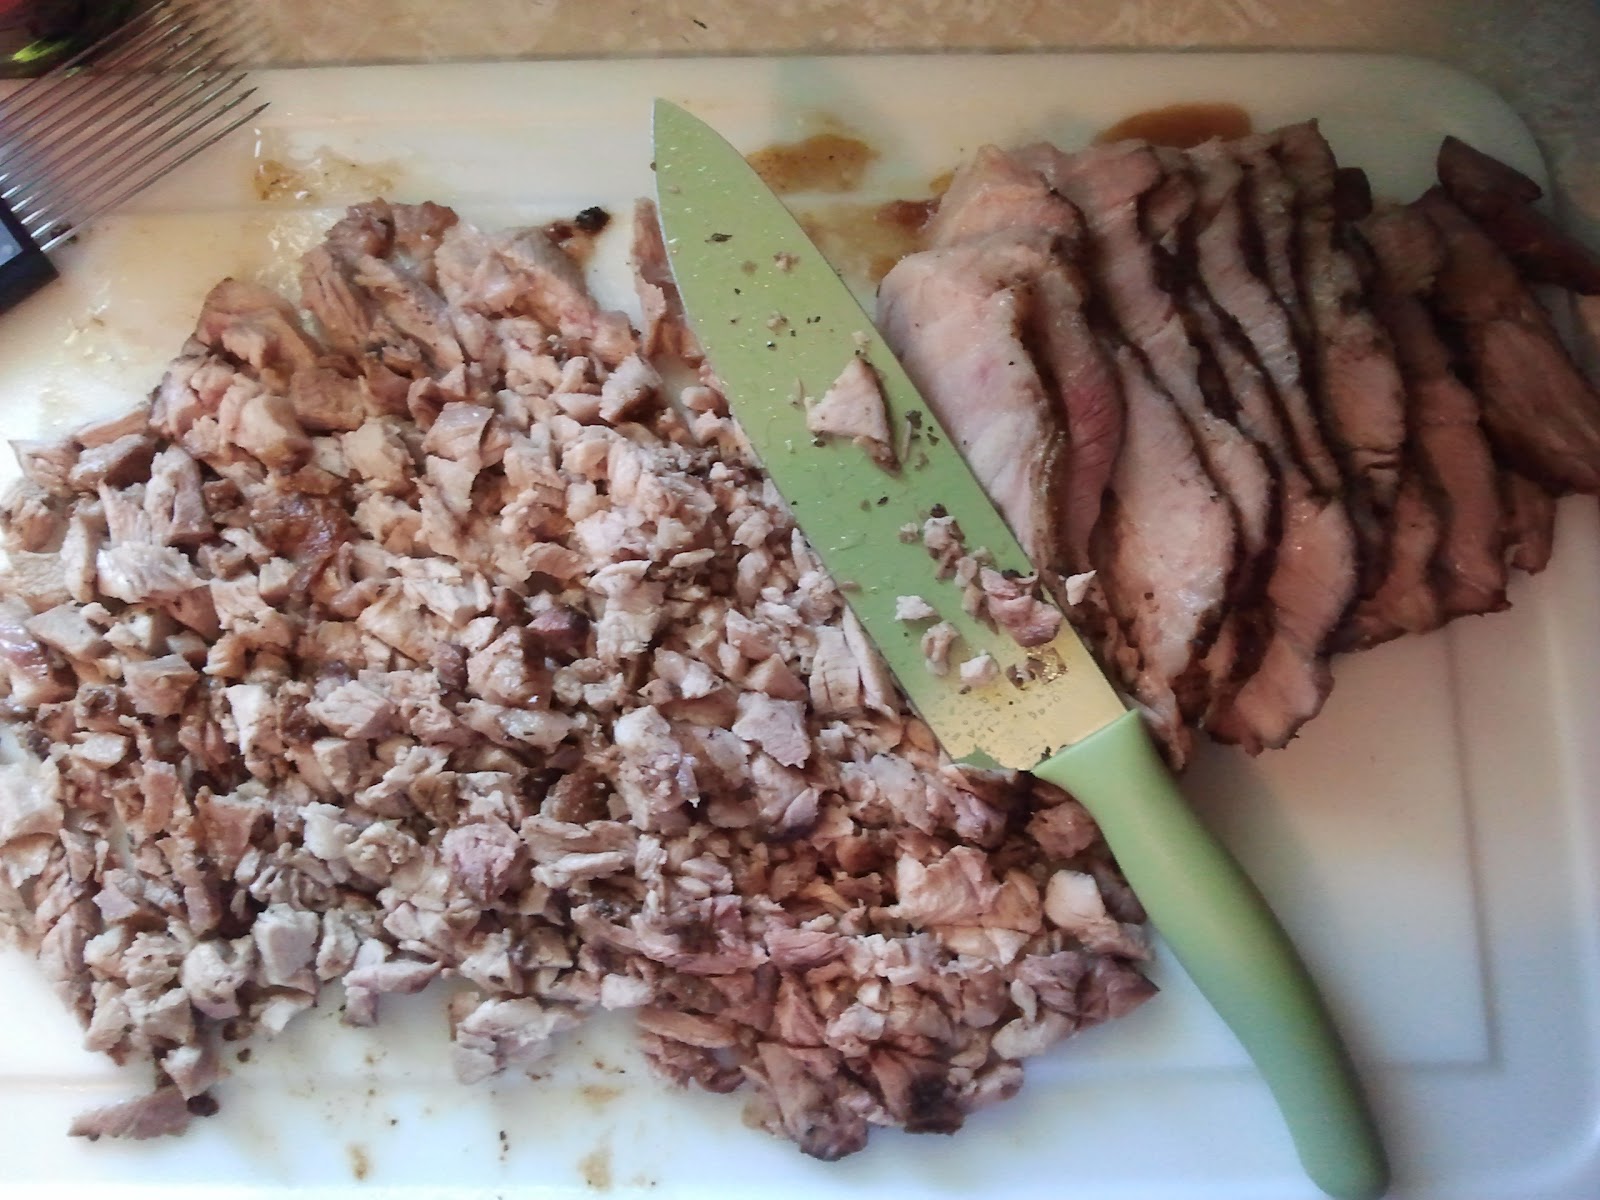
4. Once the pork is done, set it on the counter to rest, still in the pan and covered with foil.  When you have rested the meat, transfer it to a cutting board and either chop or shred the meat (I chop it because I think shredding it is too time consuming and my hands ache)


5. Strain out the solids from the liquid in the pan, and put the liquid in a small sauce pan.  Bring to a boil for 5 minutes, and then remove from heat.  Once it has cooled a little, soak up as much of the grease on top as you can with a paper towel, pour it over the meat to keep it moist.


6. When you are ready to eat, serve on buns (I like the sandwich thins) with slaw either on top of the meat or as a side dish.  You can either sauce the whole shebang, or you can put a little sauce on the top of each sandwich.


Beerbecue Sauce Mod

4 Tb margarine
1 tsp Kosher salt
2 tsp chili powder
1 tsp cocoa powder
1 tsp cumin
1 tsp ground mustard
1/2 tsp black pepper
1/2 tsp paprika
12 oz Guinness Stout
1/4 cup honey
1/4 cup balsamic vinegar
1-15 oz can tomato sauce

1. Melt butter. 


2. Add spices, stir into paste.


3. Add beer, honey, vinegar, tomato sauce.  Bring to a boil.


4. Reduce heat to simmer until thickened (or your pork is ready to be sauced).
5. Once thickened, remove from heat and cool completely before refrigerating.  If you are immediately going to put it on the pork and eat, there is no need to cool first.

Serving Suggestion

The liquid that cooked out of the pork has tremendous flavor.  This by itself is what my husband preferred on his sandwich, you just have to stir it up to make sure the meat is evenly coated.  It is a little salty for my taste, so I put the beerbecue sauce on my sandwich.  I put the meat on my sandwich thin, drizzled a little sauce on top, and ate my slaw on the side.  My mom put her slaw on the meat.  Either way is fine, just whatever floats your boat.

Soup Beans

"There was an old man of Orleans,
Who was given to eating of beans;
Till once out of sport,
     he swallowed a quart,
That dyspeptic old man of Orleans."
- Edward Lear

I don't know too many people who don't like soup beans and corn bread.  That being said, my husband was one of them, until he ate mine after we were married.  Soup beans are one of those things that are not incredibly difficult to prepare, but if you know what you're doing they turn out a whole heckuva lot better.  This is my go-to way to prepare either pintos or black beans.  Even my daughter, picky eater that she is, and my son (who is even pickier) will eat these.  Well, my son will drink the "water" the beans cooked in.  Close enough - I won't split hairs!


Soup Beans

2 lb pinto beans (Halstead are best for quick-soak)
16 cups water

6-14.5oz cans low sodium chicken broth
3-14.5oz cans filled with water
1 lb country ham hock (optional)


1. First things first, you must sort, rinse, and drain your beans.  No one wants to end up with a rock in their mouth!  These are the beans and debris I picked out of my 2 pounds today.  You may only want to pick out rocks, so do it however you want to.  This is merely a suggestion and the way I do it.


2. Dump the sorted beans into your largest stock pot (I think mine is 12qt), and add the 16 cups of water and put on the lid.  Bring it to a boil for 5 minutes.  Turn off the heat, but leave the pot on the hot cap for 2 hours.


3. Drain and rinse the beans again.  They should be about double the size they were dried.

4. Put them back in the pot.  Add the ham hock (if you don't have a ham hock, use a meaty bone from a spiral ham, or large chunks of spiral ham), chicken broth, and water.  Put the lid on.


5. Bring back to a boil, then turn down to simmer.  You can literally simmer these all day long, as long as you don't run out of liquid.  The longer you simmer, the more tender the bean will be.  If you don't cook them long enough, they are a bit chalky in texture.  Also, they are much better on the second day, because the liquid has had time to thicken.
6. Once you have simmered them for a couple of hours, remove the ham hock to a cutting board, and shred the meat, discarding the bone, fat, and skin.


7. Add the shredded meat back to the beans, stir, and serve with cornbread.

6/10/2012

3 Bites of Heaven

"Put 'eat chocolate' at the top of your list of things to do today. That way, at least you'll get one thing done."
-Author Unknown

This is a quick, bite-sized dessert that is pretty darn easy to make.  The only trouble you'll have is stopping after the first one!  I had some leftover fruit dip from my daughter's 4th birthday party, and I hate to let good food like that waste, so I had to use it somehow.  The cookies I used can be found at Meijer grocery stores (at least the one near here) with the ice cream toppings.  If you can't find them and absolutely want to make these, I know you can order them through Amazon...in bulk!  The toppings can be as unique as you like.

3 Bites of Heaven

Nabisco Famous Wafers (chocolate)
2-8oz bricks Philadelphia Cream Cheese (no reduced fat, please)
tall jar Jet-Puffed marshmallow creme (you can sub in a store brand here)
toppings (sliced fruit: strawberries, blueberries, raspberries, blackberries, mandarin oranges, etc; chips/nuts: mini chocolate, peanut butter, white chocolate, butterscotch, slivered almonds, pecans, walnuts; sauce: chocolate, caramel, butterscotch)

1. Bring cream cheese to room temp.  Cream it in a large mixing bowl.  Add all the marshmallow creme and beat til combined and smooth.
2. Chill the dip, but first eat a spoonful just to taste the deliciousness!
3. Turn a wafer upside down, spread about 1 Tbs fruit dip on it taking care not to get it too close to the edge (you have to have something to hold onto), and then top anyway you please.  I didn't have many options the day I made this one, so it was mini chips for me!


06/13/12 - And this is what I had thought about originally for the toppings.


6/07/2012

Veggie Fried Rice

"Without rice, even the cleverest housewife cannot cook"
- Chinese Proverb

I created this recipe in 2009 as a quick meal for my mom to take to the hospital. My papaw had just had a stroke, and mom wanted to be with him. Not only is it a very quick meal (~30 minutes) the rice is full of veggies and eggs. Today I added 5 spice, and it helped with the blandness. Of course you can always sauce it up or season it any which way you want.  If you want, you can even add crumbled cooked bacon, scrambled bulk pork sausage, or cut up chicken nuggets.  Of course, that makes it a little less healthy and no longer vegetarian, but to each his own!

Veggie "Fried" Rice


1 1/4 cup Uncle Ben's Whole Grain Brown Rice
3 cups water
1 Tbs + 2 Tbs butter
1 tsp Chinese Five Spice
1/2 tsp salt
10 eggs
~1/3 cup whole milk
15 oz can each peas, carrots, corn niblets, drained

1. Cook rice according to package with water and 1 Tbs butter.

2. Break eggs into a large mixing bowl, and add milk.  When you have 5 minutes left on rice, melt 2 Tbs butter over medium heat  in 12" skillet. While it melts, whisk milk into eggs. Pour eggs into skillet and let cook undisturbed until the clear spots are turning white. Scramble eggs and cook til done but still shiny/moist.

 
3. Add drained vegetables to eggs, fold in. Add rice. Fold rice in gently til mixed well. Heat over medium heat til steaming and veggies are hot. *If there are any large pieces of carrot (see left side of veggie picture) or egg, break them up into bite-sized pieces.


4. Serve hot!


6/03/2012

Amanda's Snowy Day Chili

"Next to jazz music, there is nothing that lifts the spirit and strengthens the soul more than a good bowl of chili."
Harry James

I created this chili recipe December 12, 2010.  Judging from the title, it was a snowy day, but I can't remember.  What I do recall is my mom thinking there would be far too much meat for the amount of soup and beans in the chili.  What I know for a fact is that anyone who has tasted this chili declares it the best they've ever eaten.  Chili is one of those dishes that is very easy to over (or under) season, so to eliminate the human error factor, I use a chili mix.  This chili comes together rather quickly, and you can let it simmer as long as you like, preferably while you bake a batch of cornbread!  This is so easy to double or triple, and the last two times I've made it I have tripled it.  That way, we can eat one batch and freeze the rest for later.  If you do that, put one batch in your largest heavy saucepan or dutch oven (4 qt) and another in a humongous dutch oven (Lodge enamel coated cast iron, 7.5 qt).  I use a 7.5 qt Lode enameled cast iron Dutch oven, and it is not quite big enough for a double batch, so I always have to ladle some out and into the 4 qt Dutch oven.

Amanda's Snowy Day Chili

2 lb Ground Chuck
1 tall can Brooks chili hot beans
1 can Brooks chili mix
1 can (15.5oz) Hunts tomato sauce
1 can (15.5oz) Red Gold petite diced 
                          tomatoes
1 med yellow onion, chopped finely
1 tsp pre-minced garlic
1 Tb butter


*Heat is listed for a large (10") oven cap.  If you are using a small cap (8"), you will need to increase the heat listed by 2.

1. Melt butter over medium heat (5) in heavy large saucepan or Dutch oven.  Add onions and stir, cooking ~3 minutes.  Add garlic and stir, cooking 2 minutes more.


2. Add diced tomatoes and sauce.  Stir to mix.  Add both cans Brooks, stir to mix.  Reduce heat to medium-low (3) and simmer uncovered.  

 
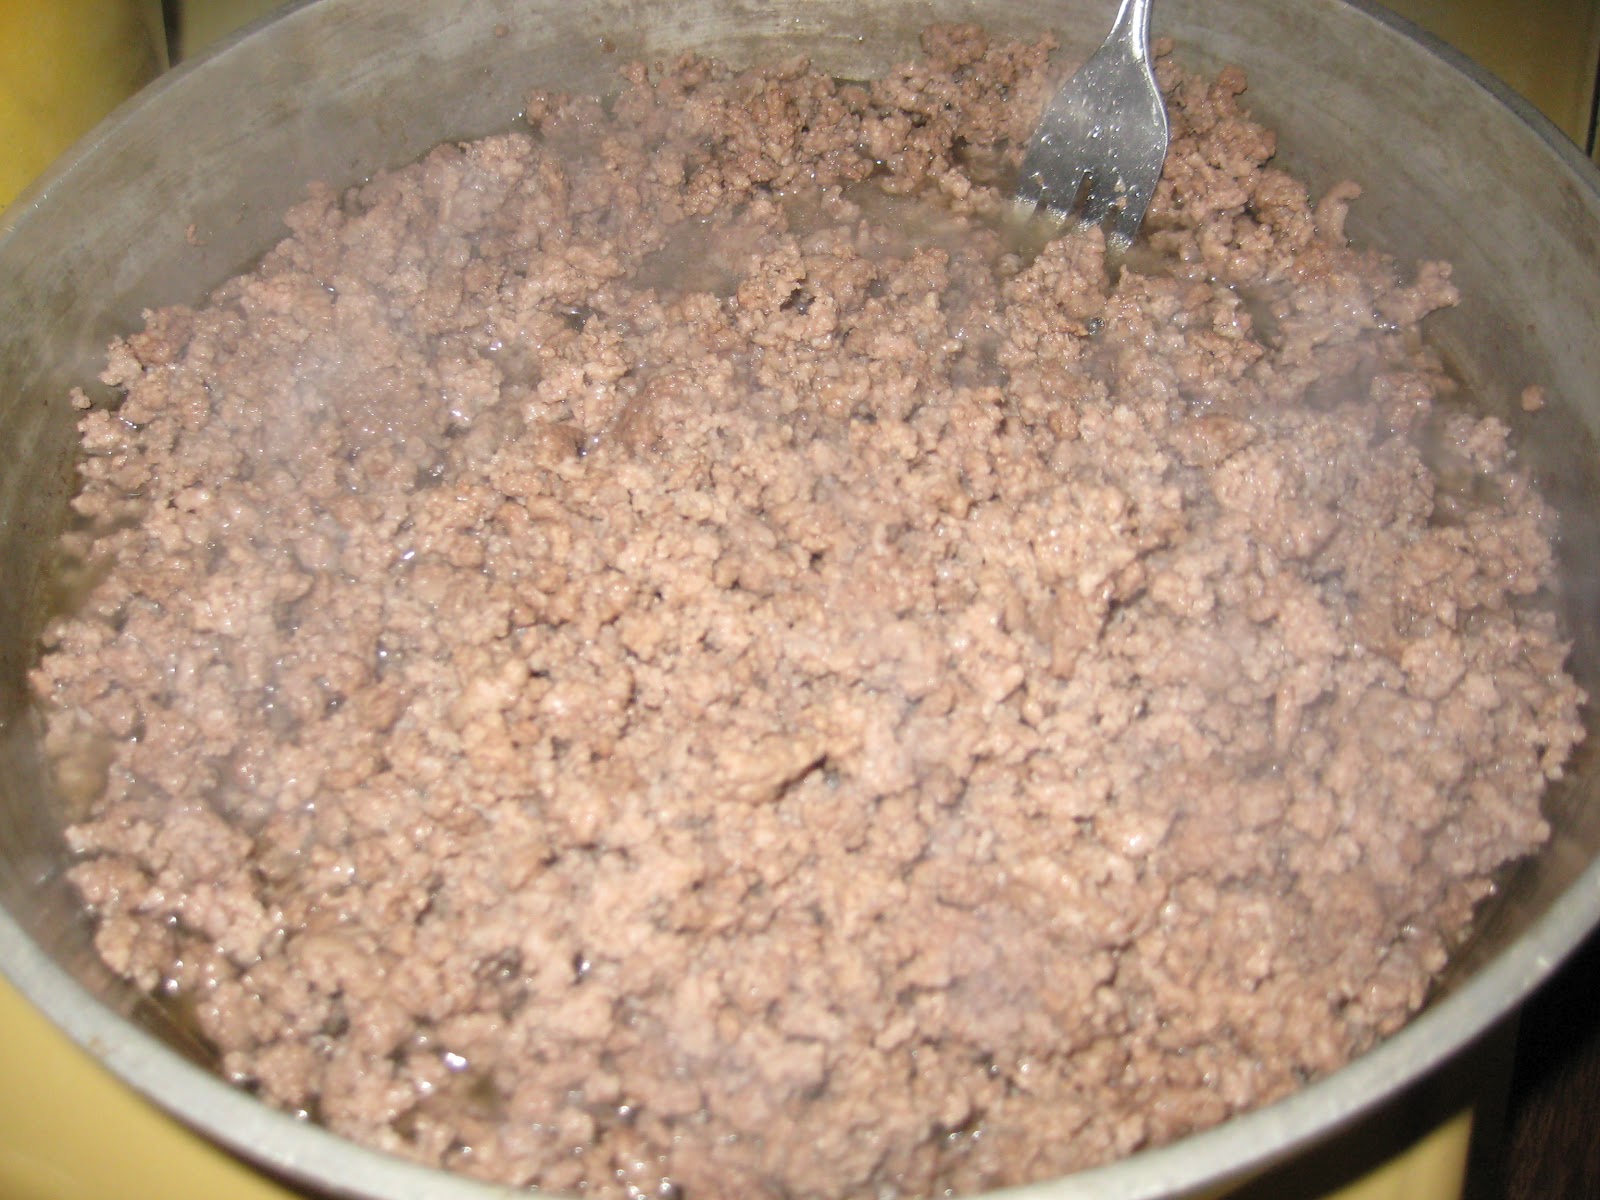
3. Brown chuck in separate skillet, drain, add to bean mixture.  Stir thoroughly until beef is mixed evenly.


4. Put lid on chili and simmer while you make cornbread and bake it.