7/30/2012

Peanut Butter Overload Pie

"A boy doesn't have to go to war to be a hero; he can say he doesn't like pie when he sees there isn't enough to go around."
- E.W. Howe

This pie was created to satisfy a craving...apparently it was for peanut butter!  I had been wanting peanut butter cookies, and since my daughter likes to do the rolling-in-sugar and then pressing-with-a-fork parts, I thought it would be a good baking activity to do together.  Then, I decided that I wanted peanut butter pie instead.  How could I choose between the two?!  Decision of impossible proportions, so I did what any other baker would do when faced with an insurmountable choice:  I combined them.  I had seen a peanut butter pie with chocolate fudge crust when I vacationed in Florida and ate at Sea Hag, but I didn't want a chocolate crust.  I did want to incorporate chocolate somehow, so originally I thought about chocolate chips on top.  Then, I settled for a ribbon of fudge on top of the crust but under the pie filling...and chocolate chips on top.  Thus was born Peanut Butter Overload!  I hope you've got your sweet tooth ready for this one!

Peanut Butter Overload Pie

Crust: Peanut Butter Cookies

Better Homes and Gardens New Cook Book (© 1976)

1/2 cup butter (or margarine)
1/2 cup peanut butter (creamy)
1/2 cup granulated sugar
1/2 cup brown sugar
1 egg
1/2 tsp vanilla
1 1/4 cups sifted all-purpose flour
3/4 tsp soda (baking)
1/4 tsp salt

1. Thoroughly cream butter, peanut butter, sugars, egg, and vanilla.


2. Sift together dry ingredients; blend into creamed mixture.

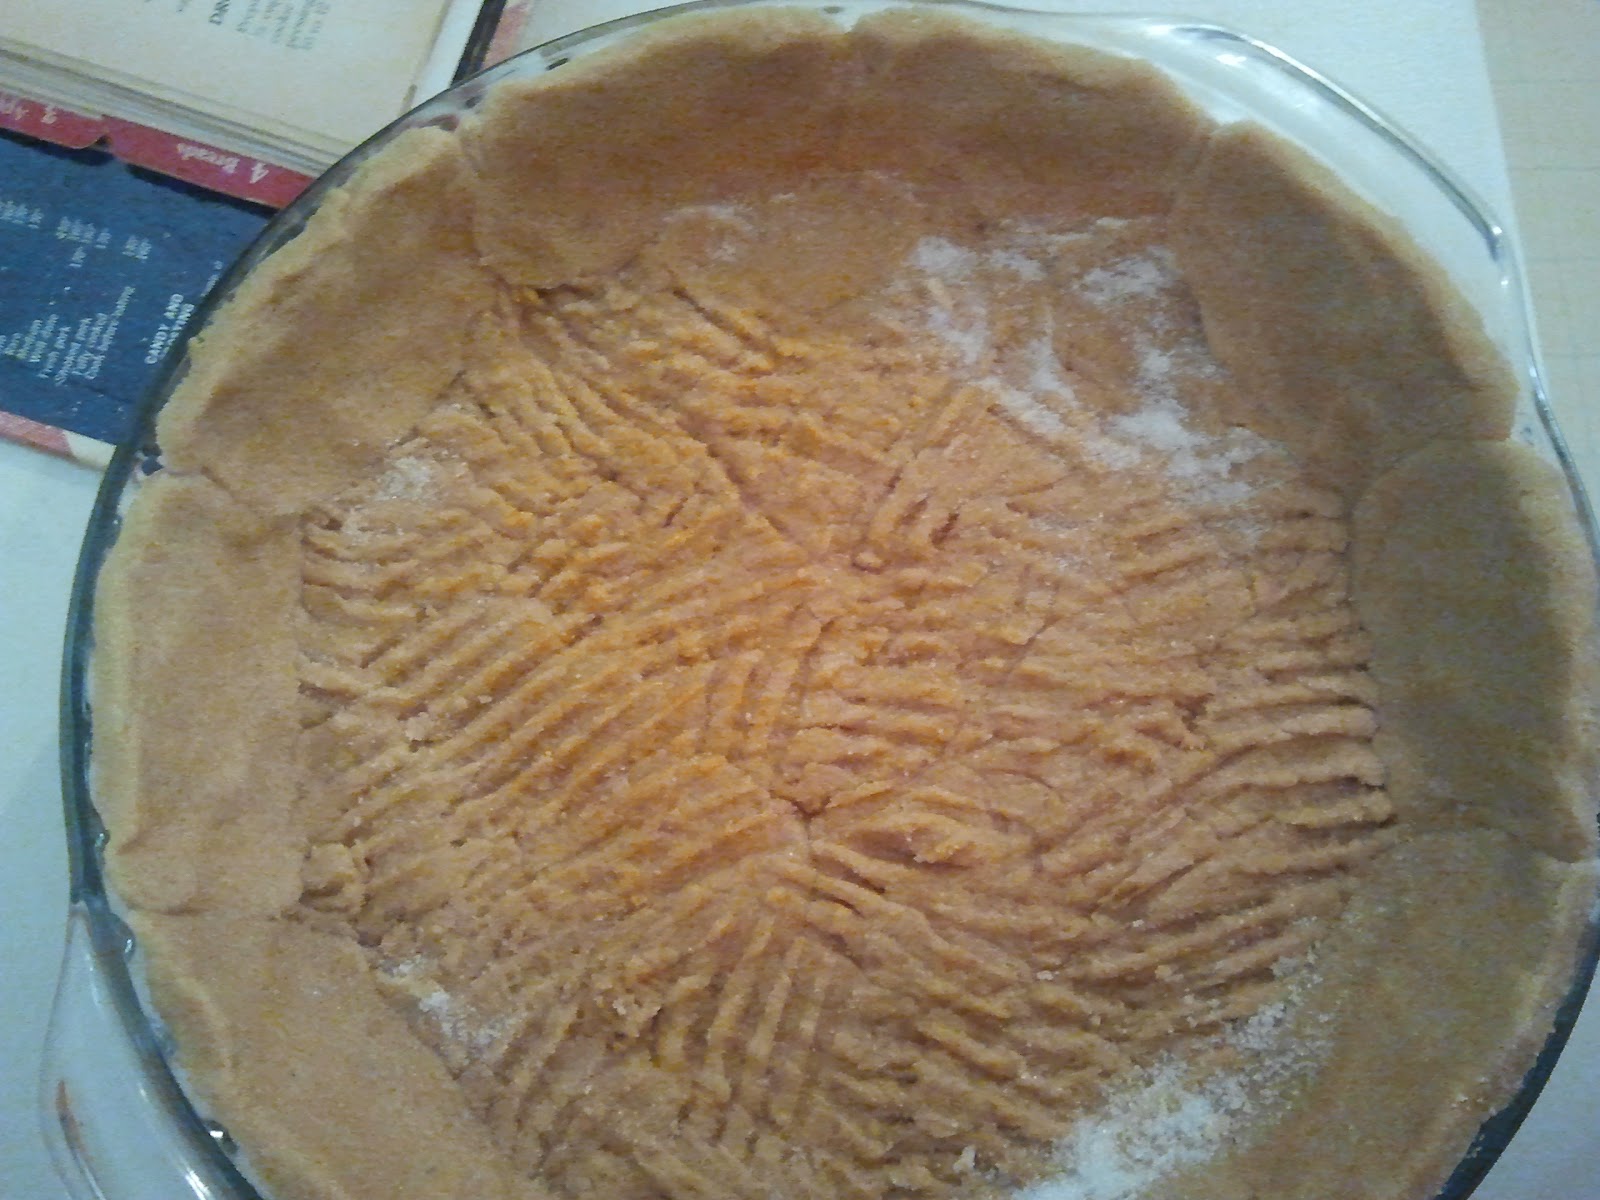
3. Here is where I break from tradition.  I thought about baking the cookies, crumbling them, and forming them a la graham cracker crust.  Then, I decided to form a crust from the dough.  Later I thought about baking the whole batch and then breaking them to fit in the pan.  After eating a day-old piece, I know that wouldn't work because the cookie absorbs the moisture and disintegrates when you touch it.  So, go ahead and press the dough into a deep-dish pie plate (I used a glass one that was about 9" diameter).  I used a small (Tbs) scoop to drop "cookies" into a bowl of sugar, rolled them around, and then used a fork to help press them into the bottom of the pan.  I did the same for the side crust, and then mashed the two layers together at the edge of the bottom.  I also had dough left over to make 8 cookies (you may want to do this first, to be sure you have them for the top), and baked them alongside the crust at 375 degrees F for 10 minutes. 

Cookies can be removed at this point (if doing all cookies, roll in sugar, place 2-inches apart on ungreased cookie sheet, press tines of fork into top in criss-cross pattern, bake at 375 for 10-12 minutes).


4. You may have a problem with the crust not getting done.  When I checked it the first time, it was puffed up to the top of the pie plate.  I used a fork to deflate it after baking 10 minutes, put it back in the oven and baked it for five more minutes.  I continued this process until the crust was evenly browned, and then I deflated it a couple of times as it cooled.  Do not worry if it has an almost gummy texture.  It will change as it cools.

Fudge Layer: Fantasy Fudge

KRAFT Marshmallow Creme jar

6 cups sugar
1 1/2 cups margarine (3 sticks)
1 1/3 cups evaporated milk (we use whole)
2 12-oz pkg semi-sweet chocolate pieces (4 cups)
1 13-oz jar KRAFT Marshmallow Creme
2 cups chopped nuts (omitted)
2 tsp vanilla

*I halved the recipe for this purpose

IMPORTANT:  Butter your 13x9-inch glass dish BEFORE you start making the fudge!!!


1. Combine sugar, margarine and milk in heavy 5-quart Dutch oven; bring to full rolling boil, stirring constantly.  Continue boiling 5 minutes over medium heat or until candy thermometer reaches 243 degrees F, stirring constantly to prevent scorching. 


2. Remove from heat; stir in chocolate pieces until melted.  Add remaining ingredients; beat until well blended. *Scoop out 1 cup of fudge and pour/spread over cooled crust before proceeding to #3 


3. Pour into two greased 13x9-inch baking pans (one pan if doing half batch).  Cool at room temperature; cut into squares.  6 pounds.


Filling: Peanut Butter Pie

from Dorothy Baker, Mountain Recipe Collection by: Valeria S. Ison

1/3 C. peanut butter
3 oz. cream cheese (I used 8 oz block)
1 C. powdered sugar
8 oz. Cool Whip
1/2 Tsp. vanilla

1. Mix peanut butter, cream cheese, powdered sugar and vanilla well.
2. Add cool whip 1 spoonful at a time.


3. Put in graham cracker crust and chill 2 hours.

*We use a wire whisk attachment on electric stand-mixer on medium to high for #1, then on stir/low for #2.  For this, you pour over fudge as soon as it has solidified in the bottom of the pie crust.


Embellishment

After the pie filling has been spread in the crust, sprinkle chocolate chips on top.  Break four of the cookies you baked in half and press them (broken side down in domes) into the filling at regular intervals.  This will be 1/2 cookie per slice for an 8 slice pie.  If you intend to cut it into more or fewer slices, you can certainly use all 8 cookies for a total possible of 16 slices.  My family descended upon the cookies and ate half of them before I could stop them, so I ended up with four for the pie and one to split between my kids.


NOTE: This pie must be refrigerated due to the cream cheese and cool whip! 

7/29/2012

White Lily Cornbread

“The North thinks it know how to make corn bread, but this is a gross superstition. Perhaps no bread in the world is quite as good as Southern corn bread, and perhaps no bread in the world is quite as bad as the Northern imitation of it.”
-Mark Twain

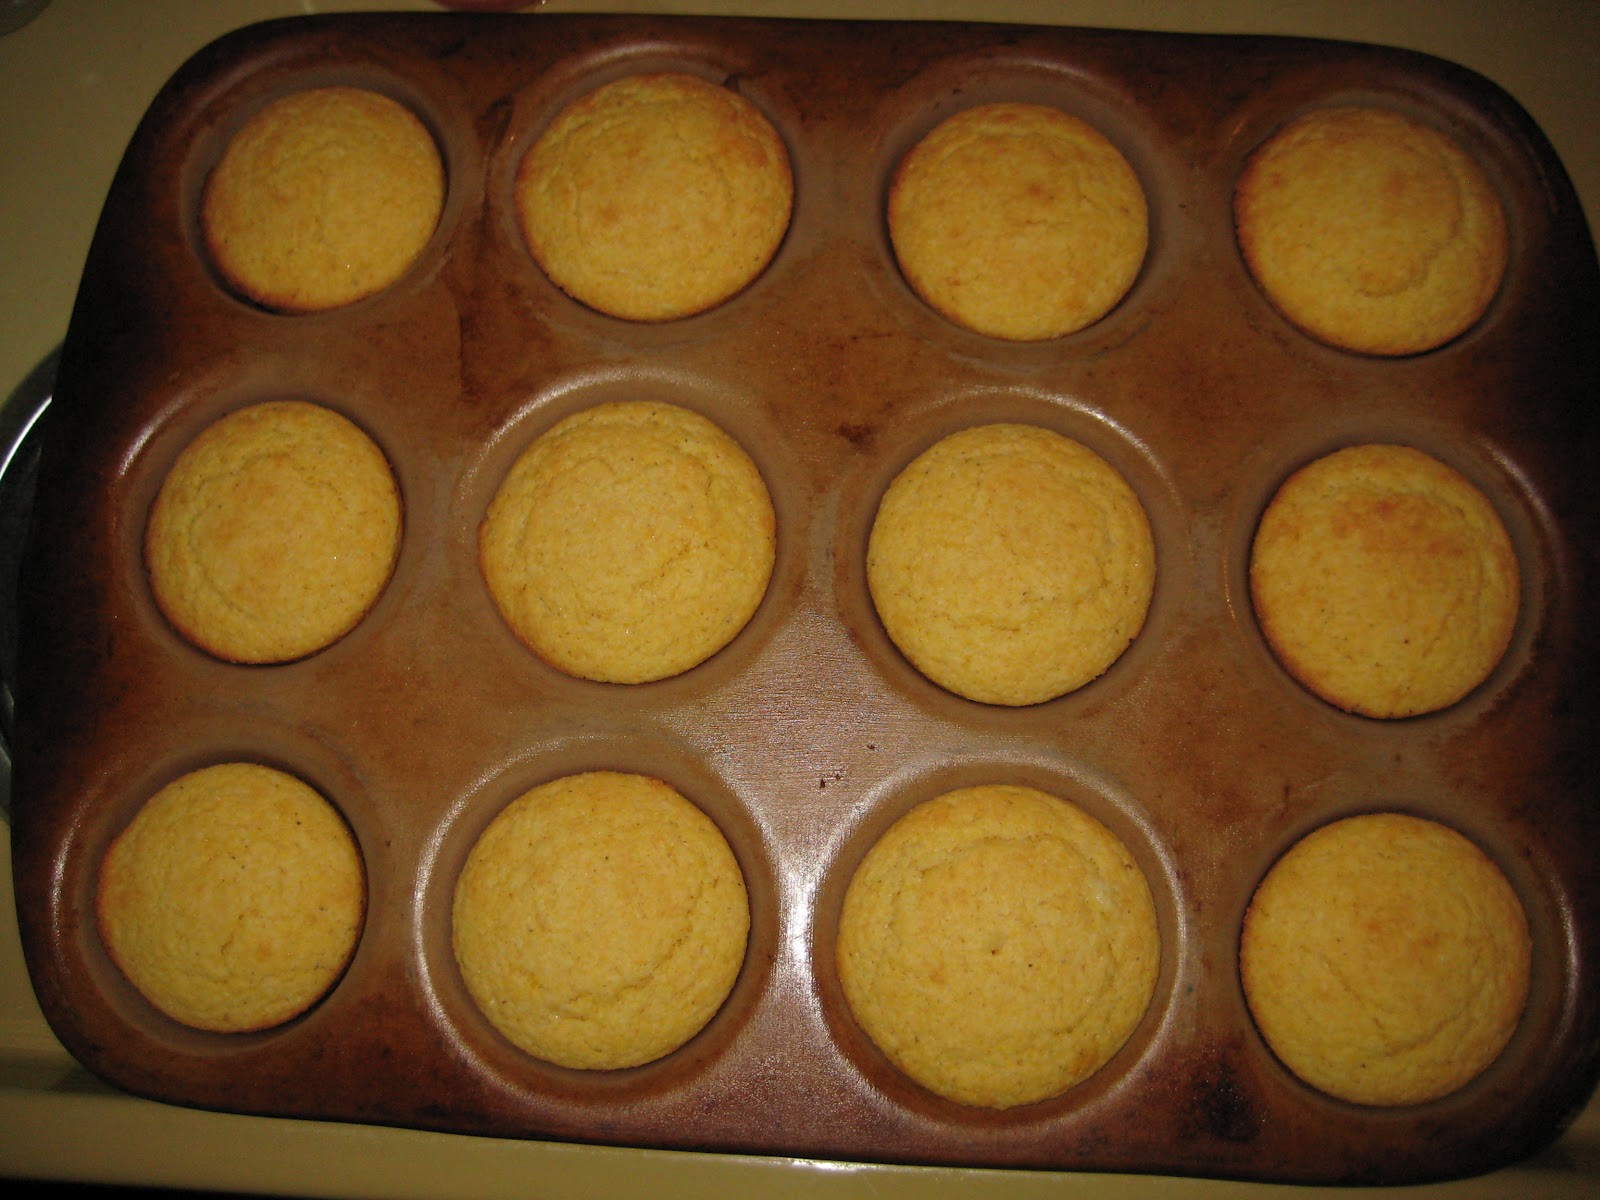
Cornbread is something that my mom could make a meal out of, just cornbread.  This recipe is the one we always use, but with a few minor changes.  I have a newer edition of the cookbook it comes from, and the measure for buttermilk is different in mine, so I am going to give you the basic recipe and indicate our changes in parentheses.  It is so easy to make!  Mom uses cast iron skillets (well-seasoned) in a 10" and 6" size.  If you do that, be sure to preheat the oiled/greased skillet in the oven while you mix up the bread.  Otherwise it will stick like nobody's business.  I prefer to use my Pampered Chef Stoneware 12-Cup Muffin Pan, which I spray liberally with non-stick cooking spray before I use my Pampered Chef Large Scoop to fill the wells.  In less than half an hour you can have a piping hot pan of cornbread to go with anything you want.  We especially like ours with Soup Beans or BBQ.

White Lily Basic Corn Bread

Great Baking Begins with White Lily Flour (© 1982)

2 cups White Lily Self-Rising Cornmeal Mix (1 cup white, 1 cup yellow)
1 tbs sugar (optional)
1 slightly beaten egg
1 1/4 cups milk (1 1/2 cup buttermilk)
1/4 cup cooking oil

1. Preheat oven to 425 degrees F.  Grease an 8- or 10-inch iron skillet (or spray muffin tin).  Use folded paper toweling or waxed paper to thinly spread bottom and sides of skillet with shortening or cooking oil.  Place skillet in oven.  Preheating skillet in oven gives the corn bread a crisp outside crust.  In mixing bowl combine cornmeal mix and sugar, if desired. Make a well in the center of the cornmeal mixture. 

2. In mixing bowl combine egg, milk and oil. In small mixing bowl beat egg slightly with fork till yolk and white are blended. Add milk and cooking oil; beat with fork till well blended. *We do this in a glass measuring cup* Add egg mixture all at once to dry ingredients, stirring just till moistened (batter should be lumpy). Do not beat batter till smooth. Overmixing will result in a corn bread that is peaked and smooth on top and with a tough, heavy texture.


4. Pour batter into preheated skillet.  Bake in 425 degree F oven for 25 to 30 minutes for the 8-inch skillet or 20 to 25 minutes for 10-inch skillet.  Cut into wedges to serve.  Serve warm.  Makes 8 servings.  *Check after 15 minutes if doing muffins, but will probably need closer to 18 to get done all the way through*


7/26/2012

Meechi's Sunday Meatloaf

"Food for the body is not enough.  There must be food for the soul."
– Dorothy Day

Meatloaf is another food that was in high rotation in our house as children.  That qualifies it as comfort food in my opinion, some may call is soul food.  It is very easy to put together (easy enough my 4 year old did most of it herself), and you cook it in the microwave, so it takes about a third the time as using a conventional oven.  This is a great meal to make ahead and either freeze (especially if you double/triple the recipe) or refrigerate and then reheat.  My kids love meatloaf of all kinds, but this one is my mom's own recipe.  Enjoy!

Meechi's Sunday Meatloaf

2 lb ground chuck
1 cup bread crumbs
1/3 cup oats
1-8oz can tomato sauce
1 egg, beaten
1 small onion, finely chopped
1/3 cup milk
salt & pepper
ketchup


1.  Mix the above ingredients (except ketchup) thoroughly.


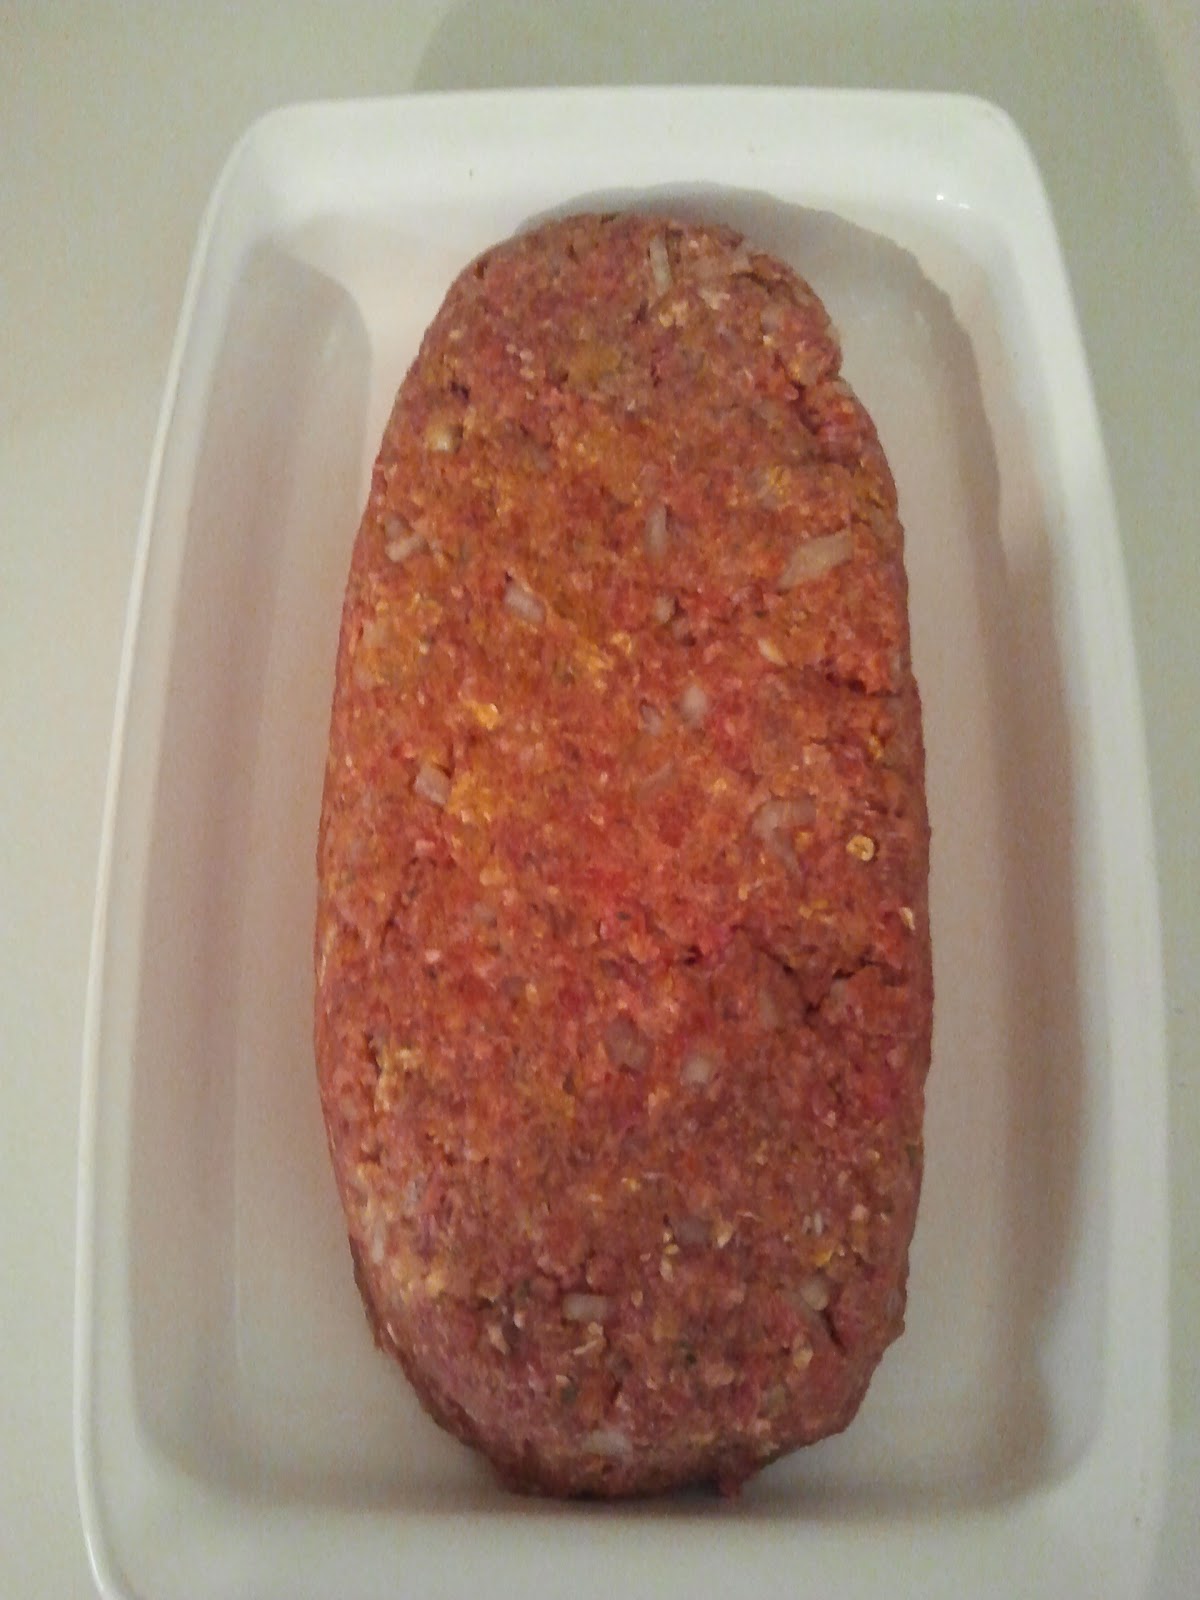
2.  Press into a glass loaf pan (this one is roughly 9x13).  Cover the top with ketchup.


3.  Cook in microwave on 70% (Medium-High) for 22-24 minutes.  Cover if you want it moist or leave uncovered for a drier top (I leave it uncovered). *Make sure the internal temperature reaches 160º F!


4. Serve with your choice of sides.  We usually go with Blue Ribbon Buttermilk Biscuits, mashed potatoes (instant for the kids), and peas or green beans.  This time we did carrots, peas, instant potatoes, and boxed mac & cheese.


Mom's Note:  I put about 1/3 of the mixture in a smaller loaf pan and cooked them both at the same time.  I removed the smaller one after 17 minutes, covered it with wax paper while the larger one finished. 

6/14/2012

Roast Beef & Gravy with Mashed Potatoes

"For less than the cost of a Big Mac, fries and a Coke, you can buy a loaf of fresh bread and some good cheese or roast beef, which you will enjoy much more."
- Steve Albini

 
Rost beef and gravy is one of those things my mom kept in a weekly rotation along with bbq chicken, chicken and dumplings, spaghetti, and homemade pizza.  She knew what my brother and I would eat, and she made sure we had it.  My kids aren't quite as receptive to these comfort food dishes from my childhood, as evidenced by the fit they both threw when I made it for the first time two nights ago, though both have eaten it at my parents' house.  My daughter declared it "yucky" without having tasted the first bite, and my son flat out refused to let it anywhere near his mouth - even disguised as an airplane.  Once we finally coaxed my daughter to try it, she said, "Mmm!  That's good!"  No such luck with my son.  At any rate, it was good, if a little bland (I've had bad luck with the salt shaker in the past), and after a sprinkle of salt it was 'licious!


Mom's Roast Beef & Gravy


4-5 lb beef chuck roast
water
1 tsp Kitchen Bouquet
Wondra flour

 
1. Cube the chuck roast in 1/2" chunks.  Put in a pressure cooker.  Add enough water to just cover the meat.  Check your gasket before you turn on the heat, and then bring it to a steady "jiggle."


2. Once the "jiggler" is getting jiggy with it, turn the heat back to a steady ch-ch (like a heartbeat) for 20 minutes.


3. Remove from the heat.  Release the pressure fully (make sure that red button pressure indicator is all the way down, people!), and then carefully and slowly open the lid.  Set the lid aside, and using a slotted spoon (I used the Scoop 'n Drain #1622 from Pampered Chef), remove the meat to a separate bowl.


4. Place the pressure cooker back on the stove cap, and raise the heat to medium.  Add the Kitchen Bouquet, and then begin to whisk in the Wondra flour.  Even though this is superfine and a quick thickener, don't expect it to be completely lump free or to thicken instantly.  You will need to bring it to a boil for a bit.  Just make sure you whisk all the lumps out that you can.  I really have no idea how much flour I added, because we always just shake it in straight from the canister.  If I had to guess I would say between 1/4 and 1/2 cup total.  Just keep checking the consistency by spooning some up and letting it drip back into the pan.  Remember this does not need to be as thick as sausage gravy.


5. Once your desired consistency is reached, pour it over the meat in the separate bowl, stir to mix, and cover with foil.

 
Now, you need to wash the pressure cooker:  Swing it through the air til the bottom has cooled enough you can touch it, then get your water screaming hot before you fill it up to wash it.  Otherwise, you risk damaging the pot.


Mashed Potatoes

5 lb potatoes of your choice (I used Yukon Gold this time, but they are a little gummy once mashed)
water
salt
2/3 cup whole milk
1/2 stick butter or margarine

 
1. Wash, peel, and cut up the potatoes (these were quartered because they were golf ball sized to begin with).  The size is not hugely important, but it does affect cooking time.  Three-quarter to one-inch dice is about perfect for this method.  If you do smaller, they will be mush; if you do larger, they will be crunchy.

2. Just barely cover the potatoes with water in the pressure cooker (please, note where the 1/2 and MAX fill lines are to be sure you are not going over the MAX).  Generously salt the potatoes.  If you think you've added enough, add a little more just to be on the safe side.  Check your gasket and "jiggler" before putting the lid on and putting it on the heat.

3. Bring the heat up til the "jiggler" is giving you all it's got, and then turn the heat down so it is a steady medium-paced ch-ch-ch-ch for 3 minutes (sorry, this is an acquired sound, I don't know how else to describe it).  Remove from the heat and release all the pressure before opening the lid.  Believe me, my husband can testify to the fact that you do not want to open it before the red button has gone all the way down, especially when cooking potatoes.

4. Remove the lid slowly and carefully, then drain the potatoes.  After this point, there are a few ways to mash the spuds:
  • High speed stand mixer
  • High speed hand-held mixer
  • Old fashioned hand-held potato masher
My mom always uses the stand mixer with the wire whisk attachment, because you can get them much fluffier and it takes less time.  I typically use the hand-held masher, but you get a lumpier potato (which my kids hate).  This time I used my hand-held mixer, and they turned out pretty good.  Whatever method you choose, dump your potatoes into the bowl of the mixer (or back into the pressure cooker), and get to work.

5. I do not melt the butter and warm the milk before adding it to the potatoes, but my mom swears by it because she does not want to cool off the potatoes before they are mashed.  If you do this, put the milk and butter in a glass measuring cup that is microwave safe, and warm on medium power (50-60%) until the butter is just melted.  Please do not boil the milk.  If you prefer not to heat it first, just add it to the potatoes and start mixing.  You can mix it to your preferred consistency, but smooth and fluffy win the game in our house.


6. Dollop the hot potatoes onto a plate, top with the beef gravy, and serve with a side of green vegetables and a Blue Ribbon Buttermilk Biscuit, and you've got yourself an award winning dinner (if your kids like meat and potatoes, that is)!


Be forewarned that cutting the meat and potatoes will take quite a while.  You can freeze the meat for about half an hour before you cut it to make it a little easier, but I don't do that.  Also, if you have an extra pair of hands in the house that can take care of the potatoes you won't be quite as long getting dinner on the table.  Start to finish, including prep time, it took me about 2 hours.  Of course, I was also documenting the process for you folks at home, so that took a little extra time as well.  The actual cooking time and assembly is probably about half of that, and prepping the meat and potatoes was about a fourth of it.  You can also pressure cook the entire roast at once and then shred the meat.  If you choose to do that, you will need to increase the cooking time a little.