- Lenny Kravitz
I feel you, man. All I ever wanted as a child was to be a mommy, an author, a chef, a teacher, an ice dancer, a fashion designer, and a farmer. Three out of seven ain't bad, I suppose. If you count the backyard garden as a farm, I guess I've nailed four of those life goals. I've still got time for the rest!
As a child I would watch my parents order sweet potatoes in place of plain old Russets as their side dish in a restaurant, and inwardly I would cringe at the thought. A potato that is sweet? A potato that is orange? Gag! It was not until I was in my early-20s that I courageously tried a sweet potato. I believe we may have been at a steak house, since that is typically where potatoes are offered on the side. I screwed my face into a look of confusion and trepidation and took the first bite. Oh my goodness! I could not believe what I had been missing out on for 20 years. Oh, yes, I ate them pureed as baby food sometime in 1984, but after that, psssht, no thanks. Now I will periodically buy them and roast them at home. When I first attempted this, I used the microwave. After all, that is where we ALWAYS "bake" our potatoes at my parents house. Then again, we only ever "bake" brown, boring, baking potatoes. I caution you not to bake sweet potatoes in the microwave. You sacrifice texture and flavor for speed and ease of cooking. After a couple of failed attempts, which came out shriveled-skinned and gummy, I gave up. Sometime last year I embarked upon the Deceptively Delicious (To Puree or Not To Puree) route of getting my kids to eat vegetables (not so much my daughter as my son). It didn't turn out so well, but it required me to roast sweet potatoes. I searched online for the perfect method of turning out stellar, steak-house-quality potatoes (theirs always seemed oranger, softer, more flavorful), and I came up a bit short. There were conflicting methods, oven temperatures, times, etc. So I did what I always do when I can't find something, I improvised and through a bit of trial and even less error I figured it out and had wonderful potatoes as a result. Now I am more apt to pick up a few sweet potatoes and toss them in the oven. My daughter loves them. My husband and I love them. In fact everyone I cook for loves them...except my son. We still haven't won Mr. Picky over to the orange side...or any side of a potato that isn't fried. Side note, he loves sweet potato fries - that is next on my list of "figure it out."


3. I started out roasting for 45 minutes. I checked them at that point, and they had started oozing a little. The squeeze test showed me they were partially cooked - I could squeeze them, but they were still firm. I set the timer for another 45 minutes, and at that point they looked like the image below - oozing from every place I had pierced them. They were easy to squeeze. I shut the oven door, turned off the heat, and let them sit for another 25 minutes while I finished steaming broccoli, making tea, and shredding chicken. I will note that I typically do NOT let them sit in the oven after they are done. It didn't affect the texture or flavor any, and the skin will be wrinkly after they start to cool regardless simply because it has been puffed up with hot air while it cooks and separates from the innards. To each his own - leave them in, or take them out. It makes no nevermind.

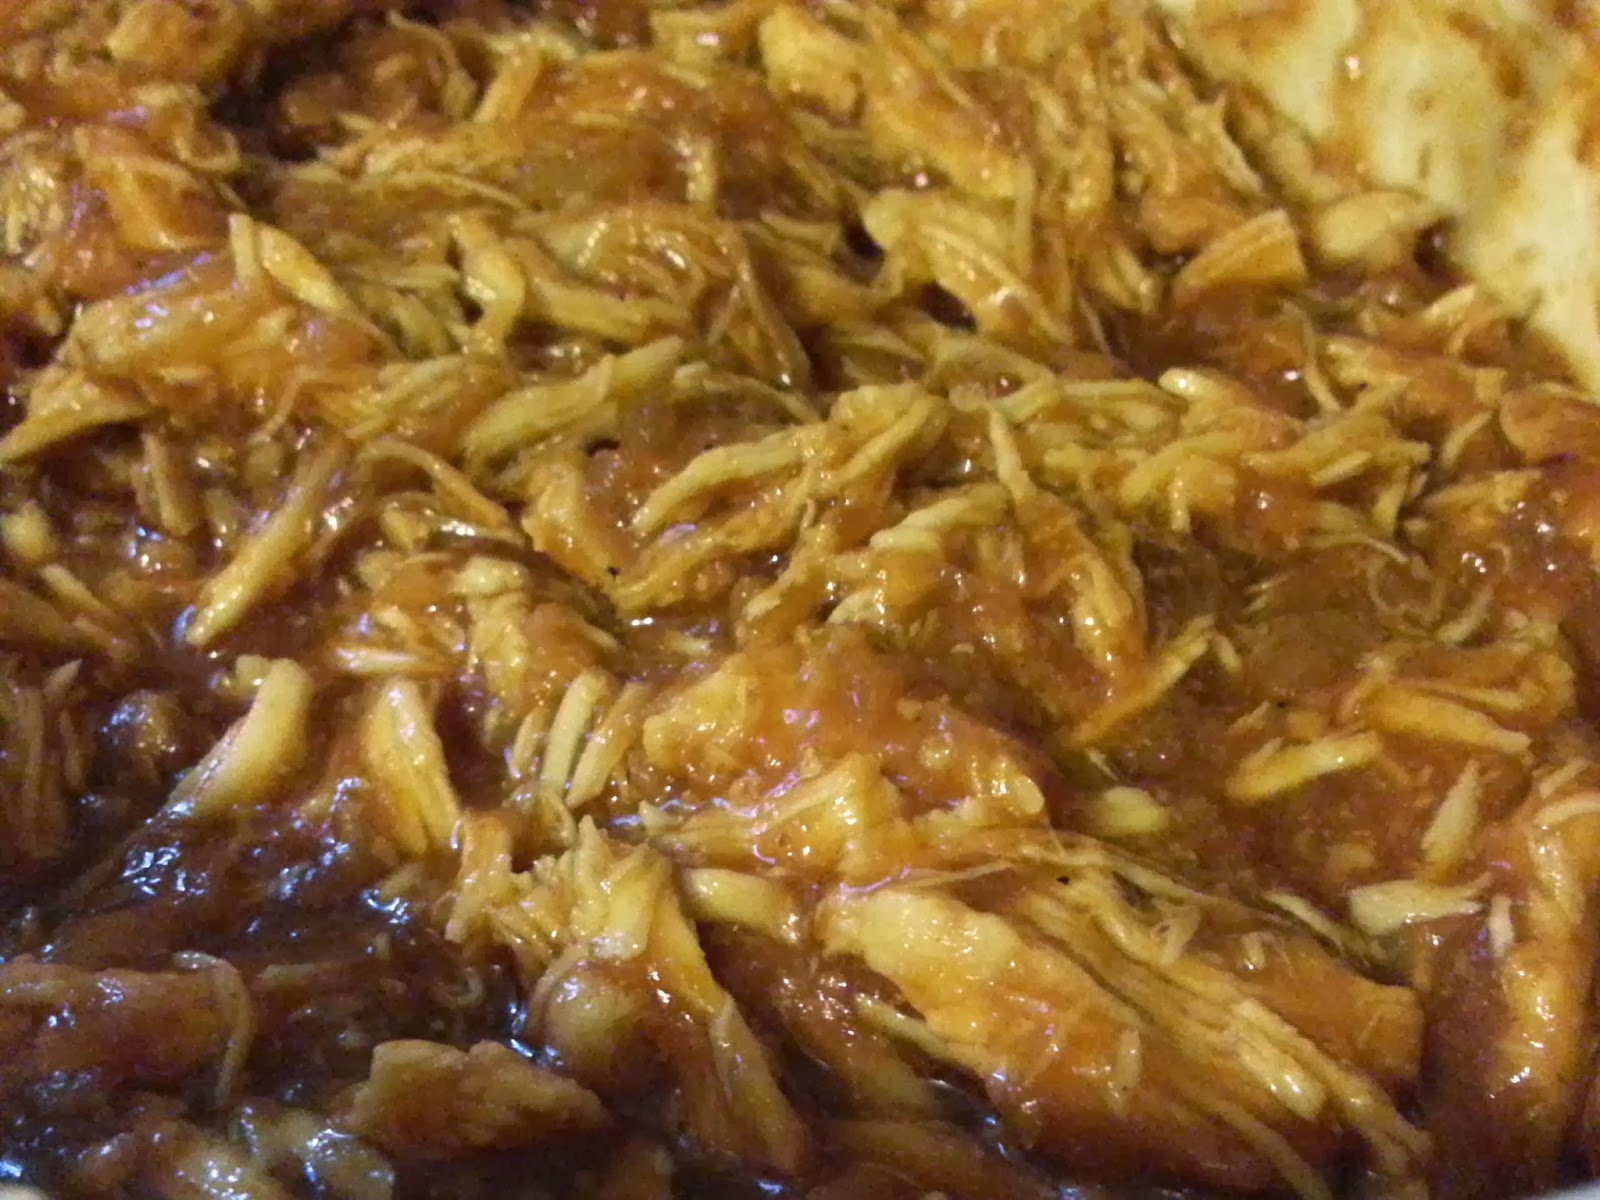
4. While sweet potatoes are excellent on their own, and pack a lot of nutrients (a large one has approximately 162 calories, 6g fiber, 4g protein, a ton of Vitamins A & C, as well as some Calcium and Iron - SELFNutritionData), I love them with barbecue or steak. This particular night I made Pacific Islands Chicken and steamed some fresh broccoli in the microwave in my Pampered Chef Large Micro Cooker from my favorite PC Consultant (1 head broccoli, 2 TB water, 4 minutes on HIGH).

I feel you, man. All I ever wanted as a child was to be a mommy, an author, a chef, a teacher, an ice dancer, a fashion designer, and a farmer. Three out of seven ain't bad, I suppose. If you count the backyard garden as a farm, I guess I've nailed four of those life goals. I've still got time for the rest!
As a child I would watch my parents order sweet potatoes in place of plain old Russets as their side dish in a restaurant, and inwardly I would cringe at the thought. A potato that is sweet? A potato that is orange? Gag! It was not until I was in my early-20s that I courageously tried a sweet potato. I believe we may have been at a steak house, since that is typically where potatoes are offered on the side. I screwed my face into a look of confusion and trepidation and took the first bite. Oh my goodness! I could not believe what I had been missing out on for 20 years. Oh, yes, I ate them pureed as baby food sometime in 1984, but after that, psssht, no thanks. Now I will periodically buy them and roast them at home. When I first attempted this, I used the microwave. After all, that is where we ALWAYS "bake" our potatoes at my parents house. Then again, we only ever "bake" brown, boring, baking potatoes. I caution you not to bake sweet potatoes in the microwave. You sacrifice texture and flavor for speed and ease of cooking. After a couple of failed attempts, which came out shriveled-skinned and gummy, I gave up. Sometime last year I embarked upon the Deceptively Delicious (To Puree or Not To Puree) route of getting my kids to eat vegetables (not so much my daughter as my son). It didn't turn out so well, but it required me to roast sweet potatoes. I searched online for the perfect method of turning out stellar, steak-house-quality potatoes (theirs always seemed oranger, softer, more flavorful), and I came up a bit short. There were conflicting methods, oven temperatures, times, etc. So I did what I always do when I can't find something, I improvised and through a bit of trial and even less error I figured it out and had wonderful potatoes as a result. Now I am more apt to pick up a few sweet potatoes and toss them in the oven. My daughter loves them. My husband and I love them. In fact everyone I cook for loves them...except my son. We still haven't won Mr. Picky over to the orange side...or any side of a potato that isn't fried. Side note, he loves sweet potato fries - that is next on my list of "figure it out."
Oven Roasted Sweet Potatoes
Sweet potatoes are the only ingredient for this, so you could use as many as you wanted. I had 6. The important thing here (which I clearly did NOT successfully accomplish this time) is to use potatoes that are relatively similar in size and weight. Yes, I said weight. My momma always said...when picking a sweet potato there are a few things to look for:
- Skin - tight, smooth, free from dents/cuts/rot/eyes
- Color - uniform
- Flesh - firm, no squishy potatoes allowed
- Weight - heavy for the size of the potato
- Size - smaller/heavier is better, uniformly shaped
- Scent - ummm, there really shouldn't be one except maybe dirt
Now, there are some who want a gargantuan potato, and that is fine...if that is what you like. I tend to agree with my mom, though, that smaller potatoes with a uniform shape and heavy-for-their-size weight are best. All of this size/weight/shape business is so the potatoes cook evenly and you don't have spots that are either overcooked or still crunchy. The heavier ones tend to have more flavor and cook better, as well - lightweight ones are dry.
1. First things first, you gotta scrub them taters. I use a mesh kitchen scrubby from the dollar store. They come in a pack of around 10 scrubbies for $1. The green ones are my veggie scrubbies, the rest I use on dishes. This is the easiest way for me to remember which is which. Back to scrubbing - I hold them under lukewarm running water as I scrub so any dirt gets washed away. If there are any eye buds or roots still hanging on, now is the time to pick them off and throw them away. You don't have to scrub until the color comes off, but especially if you intend to eat the skin (like my dad) scrub until they are very clean. If there are any "bad" spots - soft, wrinkly, rotted looking, or something else unappetizing - chop it off or excise it. Then with extreme caution use the tip of a sharp knife or the tines of a fork to pierce the potatoes all over. Please, please, please be careful not to stab yourself. My mom missed the potato and instead stabbed her thumb with the fork when I was a kid...she had to get a tetanus shot.
2. Place potatoes directly on top rack in a preheated 350° oven. Spread them out so the air can circulate around the potatoes. Place a sheet of aluminum foil on the lower rack to catch any drips once the sugars start oozing from the pierced areas of the skin - be sure that your potatoes are directly over the foil, or you will still end up with charred sugar burnt to the inside of the oven.
3. I started out roasting for 45 minutes. I checked them at that point, and they had started oozing a little. The squeeze test showed me they were partially cooked - I could squeeze them, but they were still firm. I set the timer for another 45 minutes, and at that point they looked like the image below - oozing from every place I had pierced them. They were easy to squeeze. I shut the oven door, turned off the heat, and let them sit for another 25 minutes while I finished steaming broccoli, making tea, and shredding chicken. I will note that I typically do NOT let them sit in the oven after they are done. It didn't affect the texture or flavor any, and the skin will be wrinkly after they start to cool regardless simply because it has been puffed up with hot air while it cooks and separates from the innards. To each his own - leave them in, or take them out. It makes no nevermind.
4. While sweet potatoes are excellent on their own, and pack a lot of nutrients (a large one has approximately 162 calories, 6g fiber, 4g protein, a ton of Vitamins A & C, as well as some Calcium and Iron - SELFNutritionData), I love them with barbecue or steak. This particular night I made Pacific Islands Chicken and steamed some fresh broccoli in the microwave in my Pampered Chef Large Micro Cooker from my favorite PC Consultant (1 head broccoli, 2 TB water, 4 minutes on HIGH).